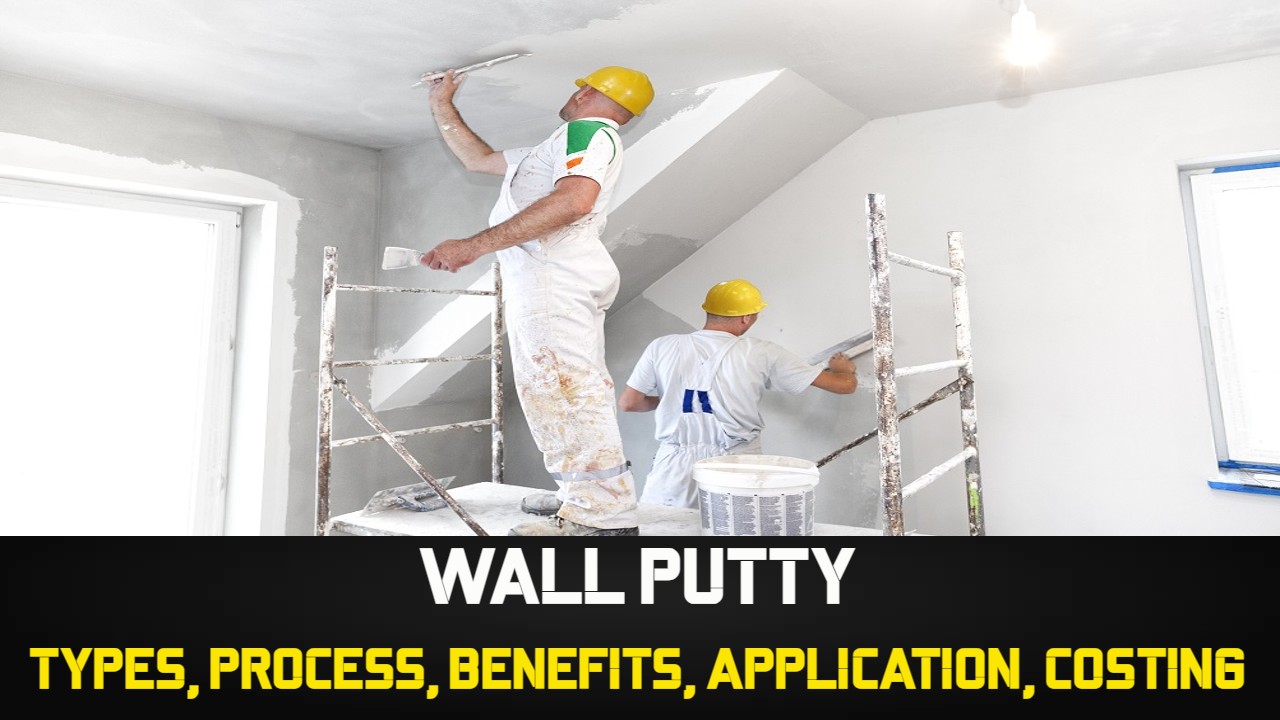
In building and home improvement projects, wall putty is a sort of paste-like compound used to prepare surfaces before painting or wallpapering. Fillers, polymers, additives, and white cement make up the majority of its material. Wall putty is used to make a smooth, level base on a variety of substrates, including concrete, plaster, and wood, improving the overall quality of the surface and assuring better adherence of paint or wallpaper.
Importance of Wall Putty in Surface Preparation
The application of wall putty plays a crucial role in surface preparation for several reasons:
Filling Imperfections: Wall putty may be used to cover up small surface flaws like dents and fractures. It guarantees that these imperfections are not noticeable after painting or wallpapering by offering a smooth and seamless substrate.
Leveling Uneven Surfaces: Uneven surfaces might change how the final finish looks. Wall putty aids in leveling off blemishes and undulations to produce a consistent and smooth surface for painting or applying wallpaper.
Enhancing Adhesion: Wall putty that has been placed correctly enhances the surface’s ability to hold paint or wallpaper. In order for the paint or adhesive to adhere firmly and avoid peeling, flaking, or bubbling, it produces a roughened texture.
Preventing Moisture Seepage: Water-resistant qualities in some types of wall putty aid in avoiding moisture seepage through the walls. This may be especially useful in places that are prone to moisture or humidity.
Increasing Durability: Wall putty increases the longevity of the painted or wallpapered surface by offering a protective coating. It aids in preventing cracking, chipping, and wear, increasing the finish’s life.
Overview of the Article’s Contents
In-depth knowledge of wall putty and its importance in surface preparation are the goals of this study. It will discuss a number of topics, such as what wall putty is, why it is used, how important it is for preparing surfaces, and its advantages. The article may also include application methods, the many varieties of wall putty on the market, and factors to take into account when choosing the best wall putty for a certain job. Readers will learn important information about the function of wall putty in obtaining a perfect and durable finish on their walls by examining these subjects.
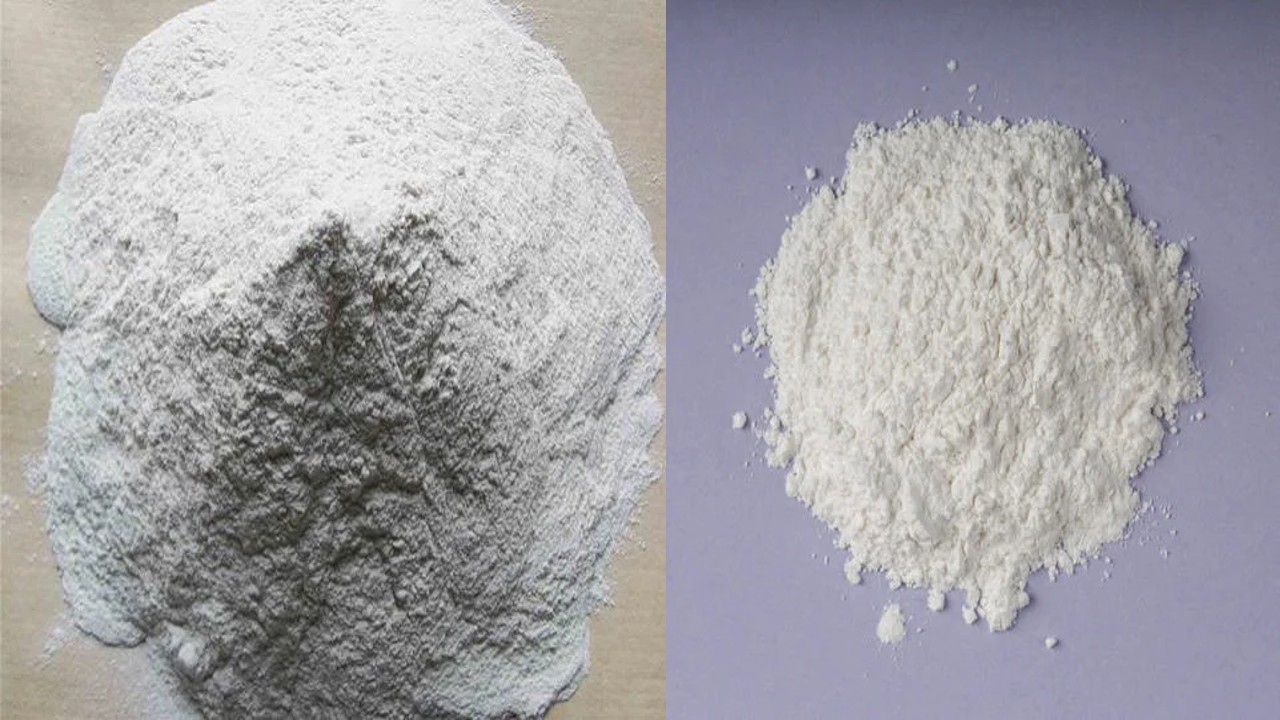
Wall putty is typically composed of the following key ingredients:
White Cement: Wall putty is made mostly of white cement. It contributes to the putty’s white hue and offers the essential binding qualities. Due of its greater whiteness and superior adherence, white cement is chosen over regular cement.
Fillers: For improved texture and workability, fillers like finely crushed limestone or calcium carbonate are added to the wall putty. Additionally, these fillers aid in producing a finish that is smoother and more even.
Polymers: Wall putty is enhanced with polymers, like acrylic or vinyl acetate, to increase its adhesive capabilities, flexibility, and fracture resistance. These polymers improve the putty’s overall tensile strength and durability.
Additives: Wall putty compositions include a variety of additives to improve particular qualities. Thickeners, dispersion agents, preservatives, and water-resistant agents are a few examples of these additives.
Different Types of Wall Putty Available in the Market
Wall putty comes in a variety of varieties that are tailored to particular needs and surfaces. Typical kinds include:
Cement-based Wall Putty: White cement, fillers, and additives make up the majority of this kind of wall putty’s ingredients. It may be applied to surfaces made of cement, such as brick walls, plaster, and concrete.
Acrylic-based Wall Putty: Acrylic polymers are a main component of wall putty with an acrylic basis. Compared to cement-based putty, it provides higher adhesion, flexibility, and water resistance. On interior and external surfaces including concrete, wood, and metal, it is frequently utilized.
Gypsum-based Wall Putty: Gypsum powder serves as the main component in the formulation of gypsum-based wall putty. High whiteness, a great surface polish, and outstanding water resistance are all provided. It is frequently used for interior walls, especially when building with drywall.
Role of Additives in Enhancing Wall Putty Properties
The significance of additives in improving the characteristics of wall putty is crucial. Following are some typical additives and their functions:
Thickeners: To regulate the wall putty’s viscosity and workability, thickeners are used. During application, they stop any excessive sagging or leaking.
Dispersing Agents: The regular dispersion of particles within the wall putty is facilitated by dispersing agents. They increase the mixture’s stability and homogeneity, resulting in more reliable performance.
Preservatives: The shelf life of wall putty is increased by the use of preservatives, which prevent the formation of mold, fungus, and bacteria.
Water-resistant Agents: The wall putty’s resistance to moisture and dampness is improved by water-resistant chemicals. They give additional protection by aiding in the prevention of water seepage through the walls.
Adhesion Promoters: The link between wall putty and the substrate is strengthened with adhesion boosters, resulting in improved adherence and a lower risk of paint or wallpaper flaking or peeling.
Wall putty is a common option for surface preparation in building and home renovation projects due to its many benefits. These are a few of the main benefits of utilizing wall putty:
Surface Smoothening: Wall putty aids in covering up small surface flaws including dents, fractures, and blemishes to provide a smooth, uniform finish. It makes sure that any imperfections are hidden and creates a faultless look before applying paint or wallpaper.
Improved Adhesion: Wall putty that has been placed correctly improves the surface on which paint or wallpaper will adhere. It produces a roughened texture that strengthens the binding between the paint or adhesive and reduces the likelihood of peeling, flaking, or bubbling.
Enhanced Durability: Wall putty extends the lifespan of the painted or wallpapered surface by adding a protective layer. It contributes to the finish’s resistance to cracks, chipping, and wear, increasing its lifespan and lowering the frequency of touch-ups.
Moisture Resistance: Wall putty with water-resistant qualities might be especially useful in places that are prone to moisture or humidity. It helps to stop moisture from leaking through the walls, lowering the possibility of wet spots or mold formation.
Easy Application: Wall putty is simple to use and may be applied to a variety of surfaces, including wood, plaster, and concrete. A putty knife or trowel may be used to apply it, and once it dries, the excess can be quickly sanded off to leave a surface that is smooth and ready for painting.
Versatility: Wall putty comes in a variety of forms and compositions to suit various needs and surfaces. It is a flexible option for a variety of projects since it can be utilized for both inside and outdoor purposes.
Time and Cost Efficiency: A superior finish may be achieved by using wall putty as a surface preparation stage, which eliminates the need for further paint or wallpaper layers. By reducing the quantity of material needed and the overall work involved in the job, this saves both time and money.
Aesthetically Pleasing: Because it creates a smooth, even, and aesthetically pleasing surface, wall putty enhances the appearance of a room as a whole. It enhances the elegance of the interior or exterior by allowing the paint or wallpaper to display its natural color and texture.
In order to achieve a smooth and adequately prepared surface for painting or wallpapering, wall putty application is a multi-step process. An overview of the application procedure is provided below:
Surface Preparation:
a) Clean the surface: Using a brush, vacuum, or moist cloth, clear the surface of any dust, grime, grease, or loose debris.
b) Repair cracks and holes: Use an appropriate filler or joint compound to patch up any major cracks or holes in the surface. Prior to moving on, let it totally dry.
Priming (Optional):
a) Although it’s not always essential, using a primer can help the wall putty adhere better and last longer.
b) Follow the manufacturer’s directions to apply a uniform layer of primer, if using, to the prepared surface. Permit the primer to dry for the allotted amount of time.
Mixing the Wall Putty:
a) For the exact wall putty being used, read and abide by the manufacturer’s instructions.
b) Put the necessary quantity of wall putty powder in a pristine mixing bowl.
c) To create a smooth, lump-free paste, gradually stir in clean water while agitating the mixture constantly. According on the product, the water-to-putty ratio might change, therefore check the manufacturer’s instructions for the right ratio.
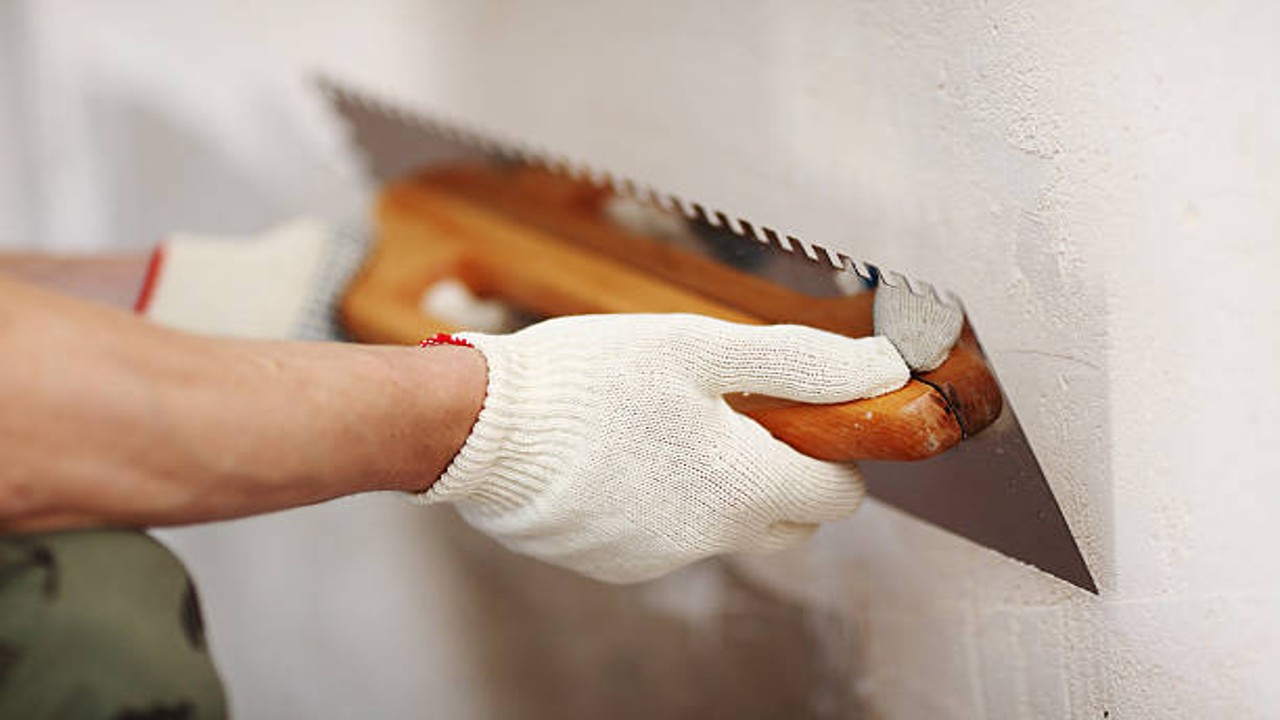
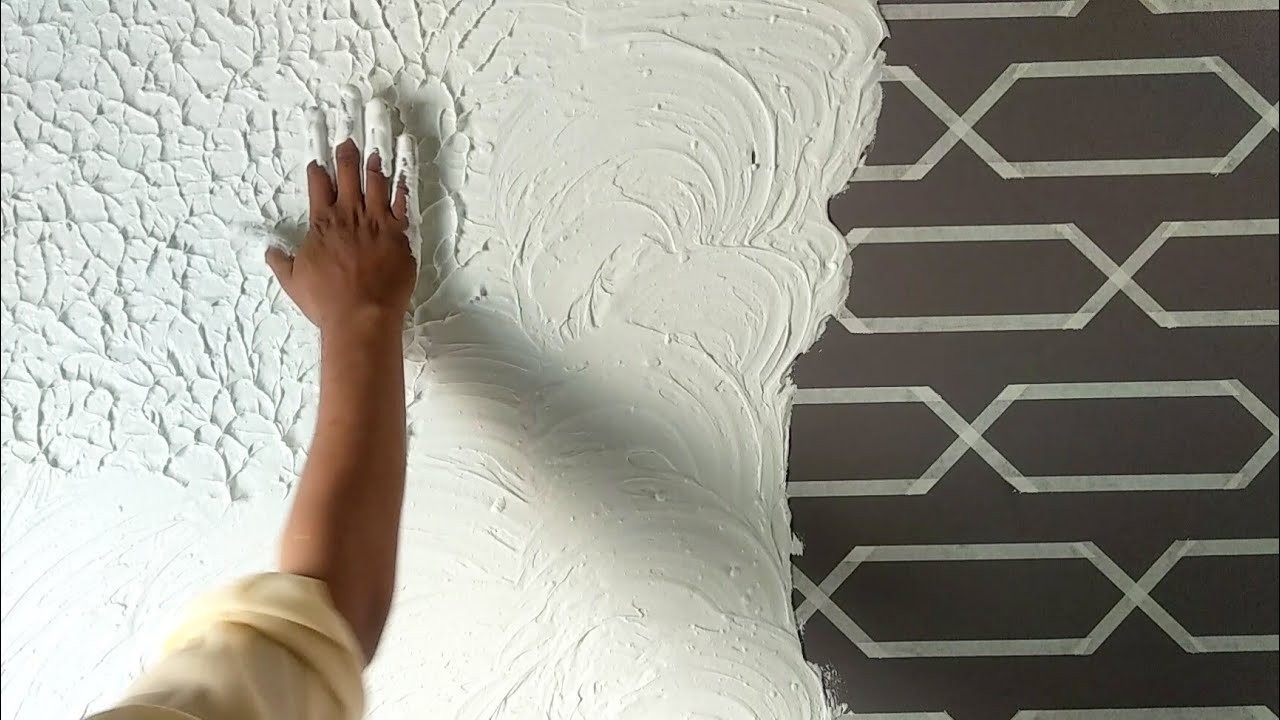
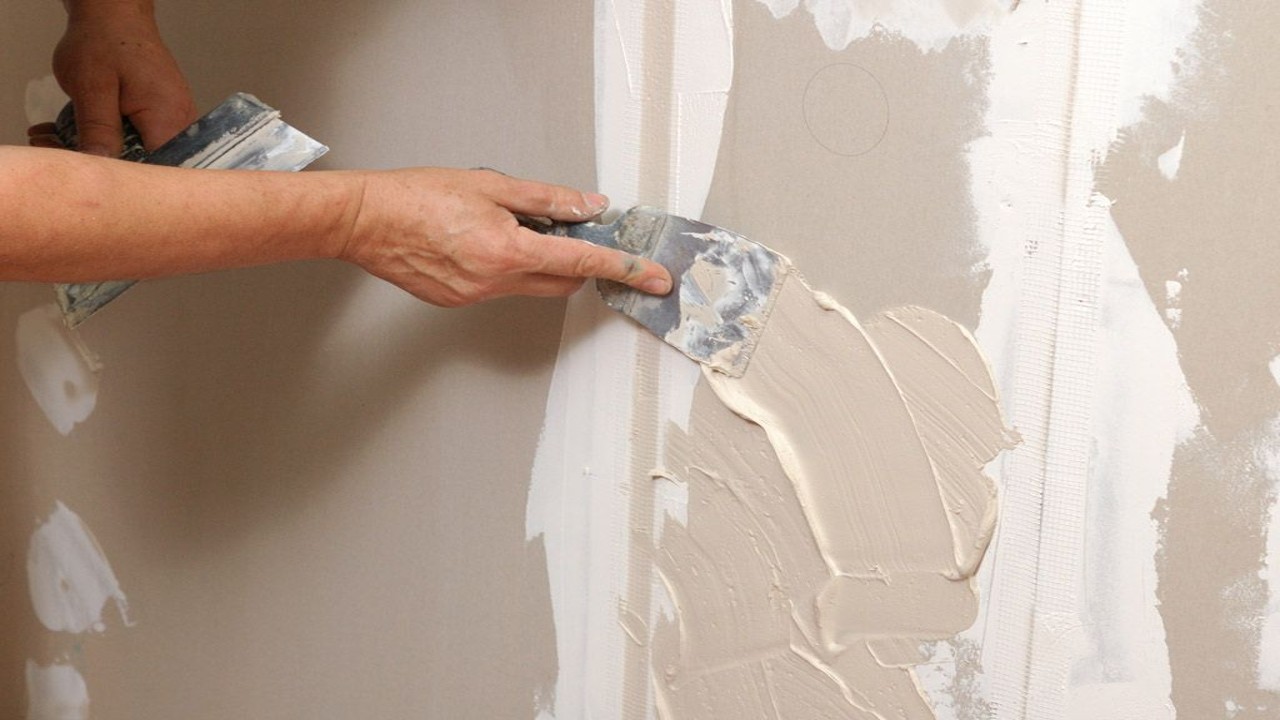
Application of Wall Putty:
a) Apply a suitable amount of the mixed wall putty to the ready surface using a putty knife or trowel.
b) Working in a crisscross or circular motion to ensure sufficient covering, spread the putty evenly in a thin layer.
c) Pay close attention to fixing any cracks, dents, or surface flaws. To establish a consistent finish and to smooth the putty, use the edge of the putty knife.
Drying and Sanding:
a) Follow the manufacturer’s recommendations and for the applied wall putty to dry fully. Temperature and humidity are two variables that might affect how long something takes to dry.
b) Use sandpaper or a sanding block to polish the surface when it has dried. Sand gently in a circular motion to produce a texture that is uniform and smooth. c. Wipe the area with a fresh, wet cloth to remove any sanding dust.
Additional Coats (If required):
a) Additional coats of wall putty can be required, depending on the desired finish and the state of the surface. Before applying the next layer, let the previous one completely dry.
b) For a smoother finish, carefully sand the surface in between applications.
Final Surface Preparation:
a) Check the surface for flaws after the last application of wall putty has dried and been sanded.
b) When the wall putty has dried, sand the area to smooth out any residual imperfections if necessary.
Surface Cleaning:
a) Ensure that the surface is clean and clear of dust or dirt before applying paint or wallpaper.
b) To eliminate any last traces of dust from the wall putty, wipe the surface with a moist cloth.
After applying the wall putty, the surface is prepared for painting or wallpapering in the chosen pattern and finish. For the greatest results, keep in mind to adhere to the exact directions given by the wall putty maker.
The appropriate wall putty must be used if you want your surfaces to be smooth and long-lasting. When choosing the right wall putty, take the following things in mind:
Surface Compatibility: Take into account the kind of surface you plan to apply the wall putty to. For certain surfaces like concrete, plaster, wood, or gypsum board, different wall putties are created. To guarantee optimal adhesion and performance, make sure the wall putty you chose is suitable with the surface material.
Interior or Exterior Application: The usage of the wall putty for internal or external surfaces should be decided. Exterior wall putties are made specifically to endure moisture, UV exposure, and inclement weather. Interior wall putties place more of an emphasis on producing a uniform and smooth surface. Depending on the needs of your project, choose the suitable category.
Purpose and Properties: Take into account the wall putty’s intended use and the particular qualities you need. For instance, pick a wall putty with strong filling qualities if you need to patch small cracks or defects. Choose a wall putty that is water- or dampness-resistant if resistance to moisture is crucial. Flexibility, mold resistance, and strong adhesion are some additional qualities to take into account. Consider the product’s specs before making a decision.
Application Ease and Workability: Evaluate the wall putty’s workability and simplicity of application. It should be simple to mix, distribute, and smooth a decent wall putty, and it should have a smooth consistency. There shouldn’t be much labor required to create a homogeneous finish. To make sure it fits into your project’s schedule, take into account the drying time as well.
Brand Reputation and Product Quality: Check out the brand’s reputation and the caliber of their wall putty offerings. Find reputable companies with a solid history and satisfied clients. Think about things like client happiness, long-term performance, and durability.
Budget and Cost: Although price shouldn’t be the only deciding factor, it’s still crucial to take your budget into account. Consider comparing pricing across various wall putty brands and products while keeping in mind the aforementioned performance and quality considerations. To choose a good solution, weigh your options in relation to your budget and desired quality.
Keep in mind to study product labels, technical specifications, and, if necessary, seek the advice of experts or specialists. Their advice may offer insightful information that may aid in your decision-making.
Maintenance and Repair with Wall Putty
Wall putty may be used for maintenance and repair to restore and rejuvenate surfaces while resolving small flaws and problems. Here are some recommendations for maintaining and repairing walls with wall putty:
Surface Cleaning: Make sure the surface is clear of debris, dust, and filth before applying wall putty for maintenance or repair. Using a brush, vacuum, or moist cloth, clean the surface.
Preparing the Surface: Prepare the surface by removing any loose or crumbling material if there are any holes, fissures, or damaged areas. The damaged area can be cleaned and smoothed with a putty knife or scraper.
Filling Cracks and Holes: Fill the surface’s gaps and fissures with wall putty. Make sure the crack or hole is thoroughly filled by taking a tiny amount of putty and pressing it firmly into the opening using a putty knife. Make the putty level with the surrounding surface by smoothing it with the edge of a putty knife or a scraper.
Smoothening and Finishing: Follow the manufacturer’s directions for drying the putty after application. After drying, sand the surface to make it smooth and blend in with the surroundings using sandpaper or a sanding block. Use a clean, wet cloth to wipe away any dust.
Paint or Wallpaper Application: Smoothing and cleaning the repaired area prepares it for painting or wallpapering. If required, prime the repaired area in accordance with the manufacturer’s directions for the paint or wallpaper. Apply the chosen finish next, making sure it blends in with the rest of the surface.
Regular Maintenance: It is essential to preserve the surface on a regular basis by cleaning and maintaining the wall putty. To get rid of any stains or grime, clean the surface often with a soft cloth, sponge, or mild detergent. Avoid using aggressive cleaning agents or abrasives that can harm the putty.
Touch-Ups: Surface flaws or small damage might develop over time. Cleaning the area, filling in any defects with putty, smoothing, and finishing as necessary are the steps to take for minor touch-ups.
Keep in mind to adhere to the manufacturer’s instructions for the particular wall putty product being used and take into account any additional maintenance advice they may offer. Your surfaces can seem clean and well-maintained for a long time if you use wall putty effectively for maintenance and repairs.
Safety and Precautions to follow while working with Wall Putty
Safety must always come first while working with wall putty, so take all essential measures. Following are some safety recommendations:
Personal Protective Equipment (PPE): When mixing or sanding putty, in particular, wear the proper personal protection equipment, such as safety goggles, gloves, and a dust mask. Your eyes, skin, and respiratory system are protected by PPE against dust, chemicals, and possible irritants.
Adequate Ventilation: Ensure that the workspace has adequate airflow. Improve airflow by opening windows or using fans, especially when applying putty inside. This aids in dispersing any odors or dust produced during application and drying.
Read and Follow Instructions: Read the manufacturer’s directions on the product label or container carefully and adhere to them. Follow the manufacturer’s suggested safety measures, mixing ratios, application methods, and drying timeframes.
Mixing in Well-Ventilated Area: Putty should be mixed in a well-ventilated environment. Avoid enclosed locations and places with insufficient airflow. This keeps fumes from accumulating and guarantees you have access to fresh air.
Avoid Skin Contact: Avoiding direct touch with putty is vital since it might irritate the skin. To safeguard your hands when mixing and applying, put on gloves. In the event of inadvertent contact, thoroughly rinse the area, and if irritation continues, seek medical treatment.
Eye Protection: When handling putty, shield your eyes by donning safety goggles or other protective equipment. This lessens the possibility of eye discomfort or harm by preventing splashes or other debris from getting into your eyes.
Dust Control: Precautions should be taken to reduce dust production when sanding. Dust can be controlled by wet sanding or by using a sanding block. To prevent breathing in small particles, think about using a dust collector or using a dust mask.
Storage and Disposal: Putty should be kept in a cool, dry location away from sources of fire and direct sunlight. For proper disposal of any unwanted or expired wall putty or associated materials, according to local rules.
Keep Out of Reach of Children: Pets and children should not have access to wall putty or the equipment that go with it. To avoid abuse or unintentional intake, store them safely.
First Aid: Learn the first aid techniques the manufacturer suggests using in the event of an unintentional ingestion, eye contact, or extended skin exposure. Keep a first aid kit close at hand at your workspace.
When using wall putty, you may reduce possible dangers and guarantee a safe working environment by according to these safety instructions and taking the appropriate steps.
Future Trends and Innovations in Wall Putty Technology
Enhancing performance, sustainability, and simplicity of application are projected to be the main future developments and advancements in putty technology. These possible developments in the area include:
Eco-Friendly Formulations: Future wall putty formulations may give priority to eco-friendly components and manufacturing techniques due to the increased emphasis on sustainability. This can entail using recycled materials, bio-based additives, and reducing the production process’ carbon impact.
Improved Crack Resistance: Wall putties with improved crack resistance may be developed as a result of innovations, providing higher durability and reducing the formation of cracks over time. This can entail adding particular fibers or additives that make the putty matrix stronger.
Smart Wall Putties: Application and upkeep of putty may be revolutionized by the use of smart technology. The putty may include self-healing properties that allow it to automatically fix small fractures or damages, or it may be equipped with sensors to offer real-time information on moisture content, temperature fluctuations, or structural integrity.
Faster Drying Formulations: Future wall putties could include cutting-edge drying chemicals or technologies that quicken the drying process, cutting down on the time required between application and subsequent paint or wallpaper installation.
Improved Workability: Wall putties with improved workability might be the subject of innovations, ensuring simpler mixing, application, and smoothing. To achieve this, chemicals that increase spreadability, lessen sagging, and offer greater control during application may be used.
Advanced Adhesion and Bonding: Future wall putties can have even better adhesion and bonding capabilities, guaranteeing dependable and long-lasting function. Advanced polymers, adhesion enhancers, or nanotechnology-based additives may be used in this.
Self-Cleaning and Stain-Resistant Properties: Putties with self-cleaning or stain-resistant features may be developed as a result of technological advances to prevent the buildup of dirt, stains, or markings on the surface. This could facilitate easier upkeep and cleaning, resulting in more durable aesthetics.
Pre-mixed and Ready-to-Use Solutions: Future wall putties may have pre-mixed and ready-to-use formulas, removing the need for human mixing, to streamline application operations. When a project is being carried out, this can save time and effort.
Advanced Surface Preparation Solutions: Putty may be included in integrated systems created by manufacturers that also include appropriate primers, sealants, or other surface preparation products. These technologies are able to offer a smooth and effective method for surface preparation and finishing.
Digital Tools and Resources: To help with product selection, application instructions, and troubleshooting, more people may start to use digital tools like smartphone applications or internet platforms. These resources can provide contractors and homeowners useful advice and assistance.
It’s vital to keep in mind that while these are prospective trends and developments, the rate at which they will be adopted may differ. Future developments in wall putty technology are anticipated to be affected by changing consumer preferences, industrial demands, and improvements in building methods and materials science.
Conclusion
Wall putty, the unsung hero of surface preparation, is essential for giving your walls a perfect and long-lasting finish. It is a crucial tool in the building and remodeling industries because to its capacity to seal cracks, improve adhesion, and stop moisture infiltration. You may fully utilize the capabilities of putty and produce gorgeous walls that last the test of time by following the application procedure, selecting the appropriate product, and according to maintenance advice. Recognize the beauty that putty may provide to your living areas by accepting its enchantment.
Frequently Asked Questions – FAQs
Can wall putty be applied directly to the surface without priming?
Priming can increase adhesion and durability, even though it is not always essential, especially on porous surfaces.
Can wall putty be used on wooden surfaces?
Yes, Before painting or varnishing wooden surfaces, cracks and flaws can be filled using putty.
How long does wall putty take to dry?
Although the drying time might change, it usually takes 4-6 hours. For information on particular drying periods, consult the manufacturer’s instructions.
Can wall putty be sanded?
Yes, Before painting or wallpapering, the putty can be smoothed out once it has dried.
Is wall putty waterproof?
The water-resistant qualities of some putty varieties give defense against moisture and dampness. Not all wall putties, though, are waterproof by nature. For precise waterproofing qualities, refer to the product’s specs or contact the maker.
Can putty be used for exterior surfaces?
Yes, There are wall putties designed exclusively for external use. These putties are appropriate for outdoor surfaces since they are made to endure moisture, UV radiation, and weathering.
Can putty be used to repair large cracks or holes?
In general, tiny holes and minor cracks may be filled using putty. Before applying putty to bigger cracks or holes, it is advised to use the proper fillers or joint compounds.
Can putty be tinted or colored?
Yes, To complement the intended paint color, certain wall putties can be tinted or colored. When considering tinting or coloring alternatives, it is best to get advice from the manufacturer or adhere to their recommendations.
How long does wall putty last?
Putty may last for years if used properly, giving a solid foundation for paint or wallpaper. Additionally, maintenance practices, ambient considerations, and surface conditions also affect longevity.
Can putty be used on textured surfaces?
To obtain a consistent finish, putty is often applied to smooth surfaces. For extremely textured surfaces, it might not be appropriate. On weakly textured surfaces, nevertheless, it can be applied after careful cleaning and preparation.


 – Benefits, Applications, PPT")