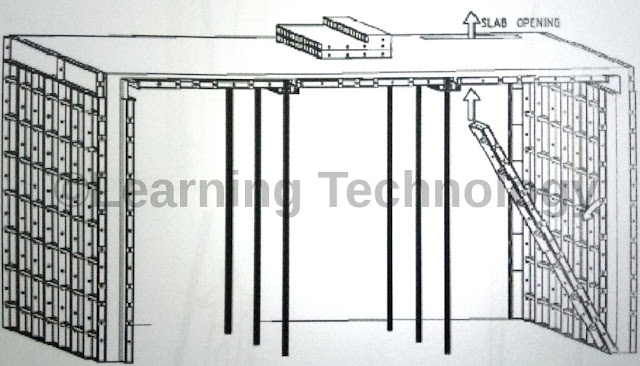
After 24 hours, remove the internal wall panels by knocking out the wedges and pins. The wall panels are to be moved to the upper floor through the slab opening as shown. The transferring of panels should be done in a systematic and orderly manner to ensure that the next cycle or level is not affected. Since all the panels are numbered with different colour identification scheme, these transfer process can be determined and planned in advance according to a section of the building such as Room 1, Room 2, Bathroom is etc.
Sequence No. 2
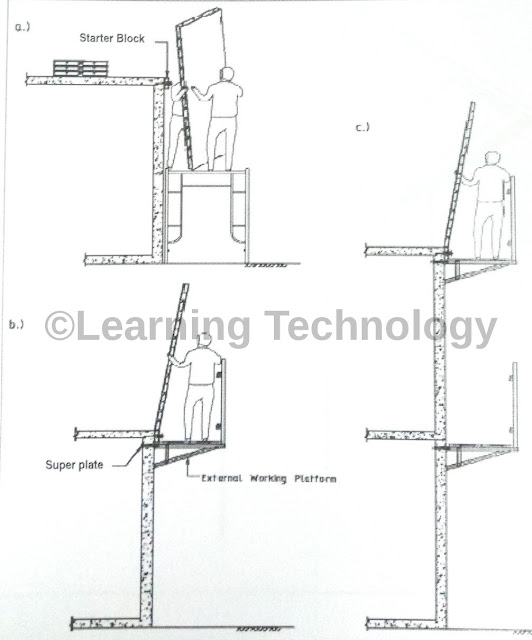
After removing the external wall forms (the starter block [kicker] should remain undisturbed), the dismantled wall forms are moved to the upper floor. Access Scaffolding is used for transferring external wall panels from the ground floor level. For level 1 and above, an external working platform is fixed to the external wall. The external wall forms from level 1 onward shall be supported by the kickers. (These steps are to be repeated from one floor to another floor)
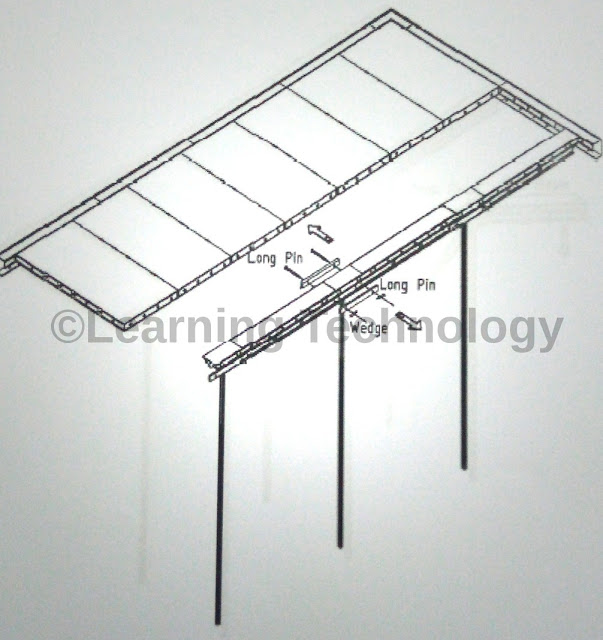
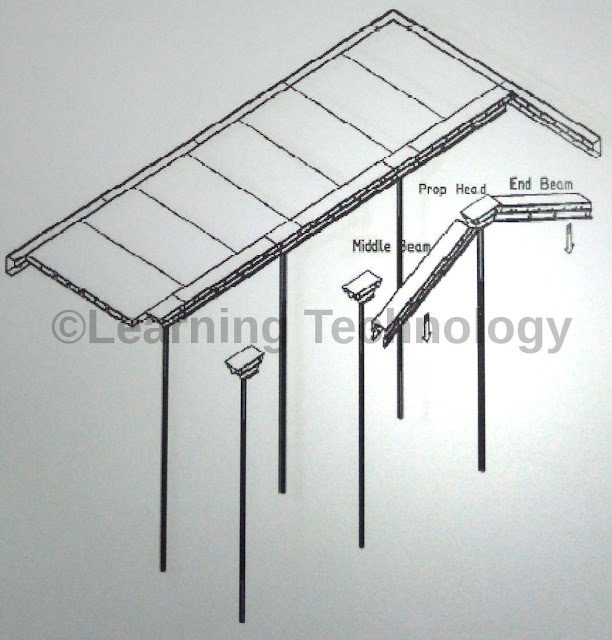
After removing the wall panels, proceed to the slab panels after 36 hours by removing the long pins and wedges on the joint bars the end and middle beam section.
Sequence No. 4
Upon removing the Alu spans Mid Beams and Alu span cantilevers End Beams, the prop shall remain undisturbed during this process to support the concrete slab.
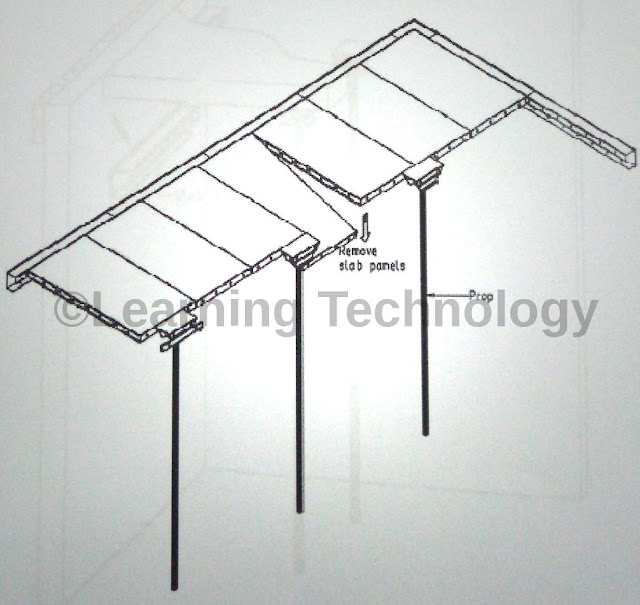
Proceed to strip the slab panels and transfer to the next level according to the designated area and installation sequence.
Sequence No. 6
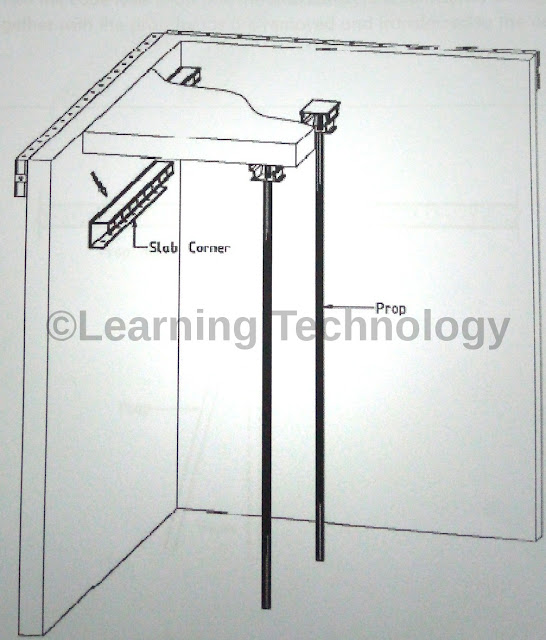
Strip the slab corner
Sequence No. 7
Pull out wall flat tie using wall tie puller and remove the wall tie sleeve using nose player.
Sequence No. 8
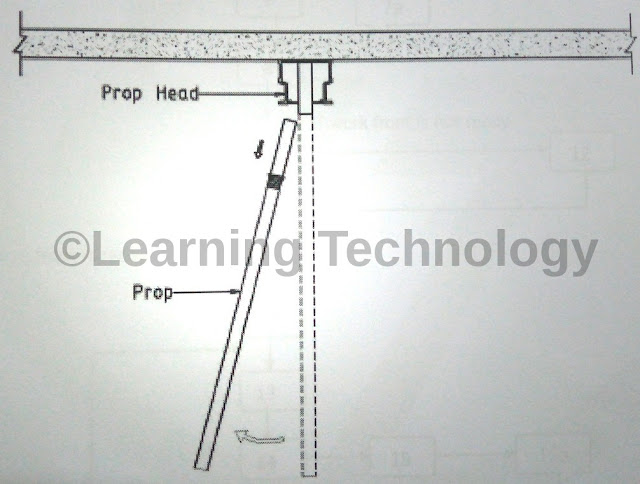
When the cube tests show that the slab concrete is sufficiently strong, the group together with the prop heads are removed and transferred to the next level.
I hope you find this information useful. If there is something that I have missed or I do not know, you can comment and tell me which I will try to rectify as soon as possible.
If you have liked this post of mine, then use the social link given below and share it among your friends on social media. Thanks
SHARE THIS POST, IF YOU LIKE IT !!
Padhega India Tab Hi Badhega India | पढ़ेगाइंडियातबहीबढ़ेगाइंडिया


: Design, Installation, Benefits, Application, Costing")
